Showing posts with label Kid Activities. Show all posts

Monday, September 22, 2014

Art Party: Grace is 7!

So every year as September 19th is approaching I tell myself we're going to do something simple for my little girl's birthday. Well, when you have a daughter like Grace nothing is simple. She is so creative and certainly knows what she wants. Each year she comes up with a theme (in July!!) of what she would like for her birthday. My only leverage is that if I'm able to pull off the party she wants at home - that's what we'll do.

My mom always threw my birthday party at my house growing up and it was one of the best memories I have as a kid. Although I love the ease of having it somewhere else - no prep work, no additional hired help, no clean up, no goody bags, no staying up late to ice cupcakes at 12 am.  It must be something in me I crave, like an upcoming deadline at work (see, I'm a SAHM so this is my job and these are my type of deadlines). One drawback I will mention when having it at home is having to limit the number of friends due to space and help/assistance issues. You never want to bite off more than you can chew and at home you need to make sure you have a good handle on things so no kid is feeling left out. I tried to limit it to 10 kids total, but by the time we including the birthday girl and her siblings we were up to 14...yes, fourteen, Yikes!


Anyway, this year Grace wanted to do something with Art. She loves Art & Horses at this point - her two loves as she would say. So with the help of Google, Pinterest, & the craft store we came up with Grace's Birthday Theme! The kids will paint their own canvas, decorate their own cupcakes, and of course have alot of fun. Genius!


I set up the party in two 1 hour shifts - first shift was Canvas Painting where each girl got a blank canvas and with the help of Crayola Neon Washable Paint was able to make a masterpiece to take home. They seemed to really enjoy creating their own personalized take-a-away. After everyone was done the girls went outside to play (shift change) to play, jump on a moon bounce, and make silly faces in a characterture drawing made with love by myself and my artistic sister, Kelsey (shout out). Must be where Grace gets her crafty side from :)


While the girls were outside tiring themselves out on this gorgeous day I was changing the table into shift #2- Cupcake Decorating. When discussing this idea with mommy friends that I was going to do this I was given a fun idea to use painters palette to serve the cupcakes on. Each girl sat down to their very own cupcake decorating station with endless options of candy, sprinkles, icing, and of course laughter to see who could build the biggest cupcake. It was adorable! One girl even tried to shove the entire thing in her mouth (although not recommended, it was pretty funny). And all mommy cared about was that Grace was having a good time with her friends. And she was!


Alongside a goody bag of silly string and a Crayola Paint Palette, each girl was sent home with their very own canvas - painted by them. Party was a success and Grace felt like a very lucky girl.

Happy birthday sweet girl! You'll always be my first baby and its a blessing to see you grow. I am super proud of you and who you have become. Love you to pieces! xoxo

Wednesday, August 20, 2014

Grace's Summer Mission: BoxTops for Education

As you all already know I am so super proud of all my kids, but especially my daughter Grace right now. When the school year ended we had to come up with a summer plan. Not so much as to fill our days, but more so to see what kinds of activities and goals we wanted to achieve before the end of August. We wrote down a few things...here is Grace's Summer To Do List!


In case you're having trouble making out her list she made in school, here is goes:
  1. Go to the pool (ok, doable)
  2. Read 1 or 2 books (better be more than that)
  3. Maybe get a tan (um, sunscreen please)
  4. Go on snap chat and facebook (she has no clue what those are)
  5. Have a sleepover (too young)
  6. Get a many/pedy (manicure/pedicure...we'll see)
  7. and say hi to your teacher (of course!)
She definitely is funny and certainly knows what she wants, but one of the things we came up together (other than get a tan) was simple - Box Tops for Education! Its something that most, if not all schools participate in and its super easy. Collect as many (or as little) Box Tops from participating company's products as you can. Each Box Top equals $.10 for your school. Every little bit counts! Cut them out and give them to your school. Its FREE money for your school for all kinds of fun stuff - check out their website!!


Grace set a goal of collecting 1,000 Box Tops. Although a seemingly out of reach number...we thought, "why not?". Together, we sent out an email to all of our family & friends asking that they keep an eye out for any Box Top products that they might already have in their kitchen and just cut them out and send them to us. Along the way Grace gets to receive mail from her friends & family throughout the summer and keeping her accountable for a goal she set out to achieve.

We are in our last week of summer and she has collected over 300 Box Tops. This is an ongoing fundraiser for her school so we wont stop there, but now we have our family & friends keeping an eye out for products they may have passed over previously. Hunt around your fridge and pantry - you may have FREE money lying around and not even know it! Thank you to all of those who participated and made a mama very proud.

Happy Hunting!

Wednesday, November 20, 2013

Kid DIY: Reusable Lunchbox Napkins

So I'm not necessarily the craftiest of moms, but I do try and "save the environment" whenever I can. I have been using reusable grocery bags for years and have even dabbled with Lunchskins (although I don't think they hold sandwiches well). So when I came across this post on Pinterest from 100 Days of Real Food I knew I had to immediately surrender and make these! 

Photo courtesy of 100 Days of Real Food


Reusable lunch sized napkins for your kids lunchboxes - genius! Day after day I had put a new napkin in each of my girls lunchboxes without thinking twice. Napkins are cheap so whats the real harm? Well the fact that they were even rarely used was the problem. I was throwing away barely touched napkins every single day. Again, you might be thinking this is a bit ridiculous, but honestly I have felt so much better ever since implementing this at the beginning of the school year. I purchased about 6 plain white cocktail napkins from amazon.com for about $5.00 and my oldest daughter and I tie dyed them ourselves and although I still continue to buy paper napkins for use while at home, everyday they now get a fun napkin in their lunch which I can easily wash alongside their clothes. 

Its really as simple as that and a step in the right direction of cutting costs and helping the environment - one pink napkin at a time!

Friday, April 12, 2013

Family Night: Homemade Pizza

Pretty much every Friday growing up we had pizza for dinner and I've carried on that tradition with my family. We cook every night of the week, typically, so it was easy for me to order in on Friday nights to give me a break from the kitchen. Then once I started to realize how much we were spending on a simple pizza and how much worse store bought was for you - I just had to make my own!

My sweet Grace helping mommy

We started making our own pizzas about 5 years ago and now we even make them for friends and family parties. They are super easy to make and inexpensive to buy so it was a no-brainer to me! I used to buy our pizza dough at the local Italian Store/Deli - and you can too - but now I buy it at our local grocery which is always having sales of $1/ball of dough. I buy a bunch and freeze and then the night before I know we're going to make it I let in thaw in the fridge. I rarely put sauce on the pizza, but if I do its very little as it can make the dough soggy. The only other ingredients my family uses are mozzarella cheese, Roma tomatoes, fresh basil, large pepperoni and sea salt. The options are endless when it comes to toppings and I encourage you to get creative, but this is just what we enjoy and what I know my kids will eat - so there is no argument.

I also have a Mario Batali Pizza Pan that a friend had recommended to me and it was worth every penny, but I assume it can easily be made on a large cookie sheet as well. They key I've learned to the perfect pizza is an extremely hot oven. It took me a couple times to perfect it, but I've got it down after all these years. I have even pre-cooked the pizza dough during naps on a nice day so if we spend a little extra time outdoors in the evening. I have minimized my steps and cut down on my cooking time significantly!

The finished product!
Ingredients
  • 2 Pizza Dough Balls (I purchase mine from either an Italian store, Trader Joes, or Harris Teeter)
  • 2 8oz packages of Mozzarella Cheese
  • 1 Package of Deli Pepperoni (Large Pepperoni Style)
  • Roma Tomatoes (Sliced Thin)
  • Fresh Basil (Chopped)
  • Sea Salt
  • Red Pepper Flakes (Optional)
Optional Toppings: Peppers, Onions, Chopped Bacon, Sliced Pancetta, Ground Beef, Sausage, Mushrooms, etc.

Directions
  1. Preheat oven to 500 degrees.
  2. Put a few Tbsp Olive Oil on pizza pan (swirl around).
  3. Press out dough on pan with fingers until it reaches all edges. Room temp dough is best. Cook one pizza at a time for best results.
  4. Place in oven for roughly 5-6 min or until golden brown. You are cooking the crust here.
  5. Pull crust out of oven and spread half the cheese on the dough, sauce (optional), spread pepperoni and remaining mozzarella cheese.
  6. Put back in oven for 5 min (or until cheese is melted).
  7. I always broil for a minute or two at the end to get a more well-done pizza.
  8. Transfer to pizza stone or cutting board. Let cool, cut, and serve!
  9. Repeat for 2nd pizza. Follow all steps except after you place the sliced tomatoes on the pizza, spread a bit of sea salt to bring out the flavor. Top with remaining cheese and fresh basil. Bake and you're done!
Its that simple and better than delivery! My kids love being a part of the cooking process so I let them put the toppings and cheese on which makes them feel so helpful. Its something we look forward doing together every week :) Enjoy!

Wednesday, March 27, 2013

Barnes and Noble: Hidden Gem!

Who knew?!

I used to take my oldest daughter on fun "field trips" and play outings when she was little. She got all the fun stuff - playgroups, music classes, Little Gyms, etc. The more kids I had, the less I seemed to do. It became easier to have friends over, go to parks and playgrounds, or simply stay home. After this dreary winter I became determined to get my kids involved in more activities. We started gymnastics and decided to head back out there during the week to discover new fun places - one of which was Barnes & Noble. Now, we used to hit up story times at the local bookstore often throughout the years, but in time they became a big turn off. They were too crowded, noisy, the kids were distracted, and one time the instructor even seemed to get a bit annoyed. That was it for me! 

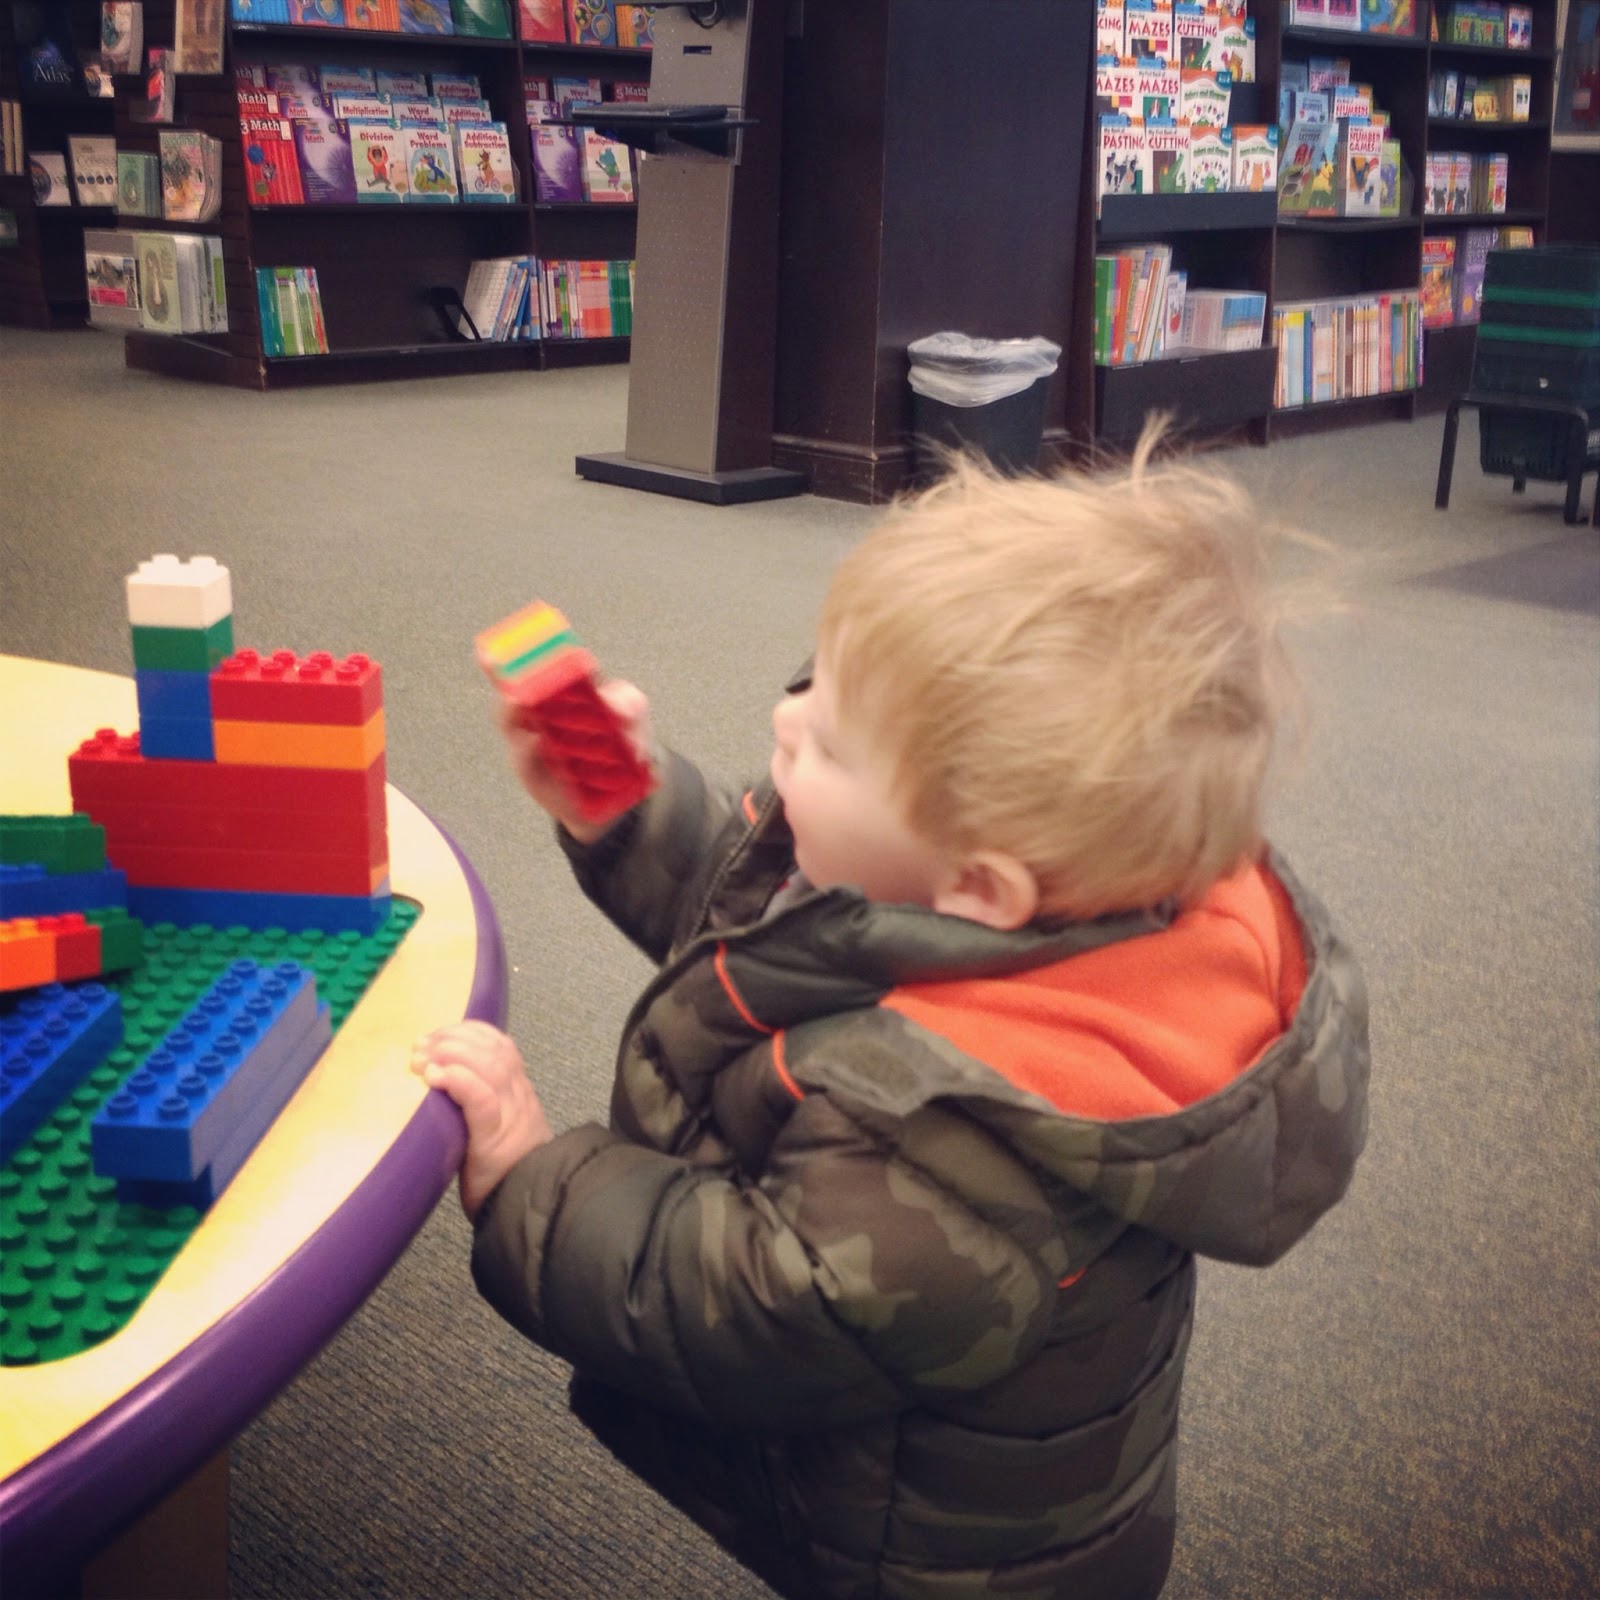
My little man with his Legos.

A week or so ago, both my girls were in school so I took my little man on an outing to Barnes & Noble in Bethesda - "Wow!" is all I could think. It was beautiful! It was so child friendly and very welcoming to kids of a variety of ages. It was also quiet and a great place for me to relax while watching my sweet boy roam and play. Even better, there is a Starbucks on the third floor ;)

 Barnes and Noble Bethesda

If you get a chance to visit your local bookstore- check out their child play area or their weekly story time for kids. You might be surprised at what you find....I was!

For a Barnes and Noble near you, check out: Barnes & Noble.com